Doral (Blue Monster) - Virtual Golf
Tags:v3.2.0+
The Blue Monster is the signature championship course at Doral, located in Doral, Florida, United States. Designed by Dick Wilson and opened in 1962, the course earned its fearsome nickname from its demanding layout and unforgiving conditions. Stretching 7,510 yards (6,870 m) from the championship tees, it plays to a par of 72 with a course rating of 76.8 and a slope of 143 - making it one of the most challenging resort courses in the world. The course is particularly renowned for its treacherous 18th hole, a par-4 lined by water that has decided the outcome of countless tournaments. The Blue Monster hosted the PGA Tour's Doral Open from 1962 to 2006, followed by the WGC-Cadillac Championship from 2007 to 2016, cementing its status as a historic venue on the professional circuit.
Doral (Blue Monster) is available to all users, including those on a free trial. To play, open Virtual Golf, select 18 Hole Courses, and select Doral (Blue Monster) from the list.
Scorecard
Doral (Blue Monster) is a par 72 over 18 holes. All distances are in metres.
Five tee options are available, ranging from the longest (Hexagon) to the shortest (Circle):
| Hole | Par | Hexagon | Pentagon | Square | Triangle | Circle |
|---|---|---|---|---|---|---|
| 1 | 5 | 530 | 498 | 395 | 289 | 227 |
| 2 | 4 | 408 | 333 | 298 | 194 | 156 |
| 3 | 4 | 406 | 363 | 284 | 179 | 121 |
| 4 | 3 | 208 | 162 | 133 | 99 | 78 |
| 5 | 4 | 357 | 336 | 291 | 199 | 164 |
| 6 | 4 | 393 | 370 | 315 | 163 | 128 |
| 7 | 4 | 428 | 393 | 353 | 146 | 132 |
| 8 | 5 | 502 | 455 | 381 | 281 | 186 |
| 9 | 3 | 203 | 176 | 144 | 98 | 74 |
| 10 | 5 | 548 | 504 | 388 | 233 | 195 |
| 11 | 4 | 390 | 295 | 261 | 211 | 157 |
| 12 | 5 | 548 | 520 | 446 | 250 | 171 |
| 13 | 3 | 225 | 195 | 158 | 79 | 60 |
| 14 | 4 | 424 | 376 | 288 | 191 | 141 |
| 15 | 3 | 166 | 141 | 105 | 94 | 81 |
| 16 | 4 | 345 | 307 | 254 | 173 | 150 |
| 17 | 4 | 394 | 353 | 273 | 186 | 144 |
| 18 | 4 | 431 | 369 | 302 | 150 | 137 |
| Total | 72 | 6,906 | 6,146 | 5,069 | 3,215 | 2,502 |
Hole Descriptions
Hole 1 (Par 5)
530m (Hexagon) / 395m (Square)
A thrilling opener with an expansive tee demanding a powerful start. Strategic play around bunkers will reward you with ideal approach angles. Precision and distance control are key.
Hole 2 (Par 4)
408m (Hexagon) / 298m (Square)
A medium-length par 4 where strategic play is rewarded. Aim for the right-hand bunker off the tee to ensure the best approach angle. The undulating green will make for an exciting finish.
Hole 3 (Par 4)
406m (Hexagon) / 284m (Square)
A sweeping dogleg par 4 around a scenic lake. Navigate the strategically placed bunkers for an optimal approach. Precision is key, especially with water hazards near the green.
Hole 4 (Par 3)
208m (Hexagon) / 133m (Square)
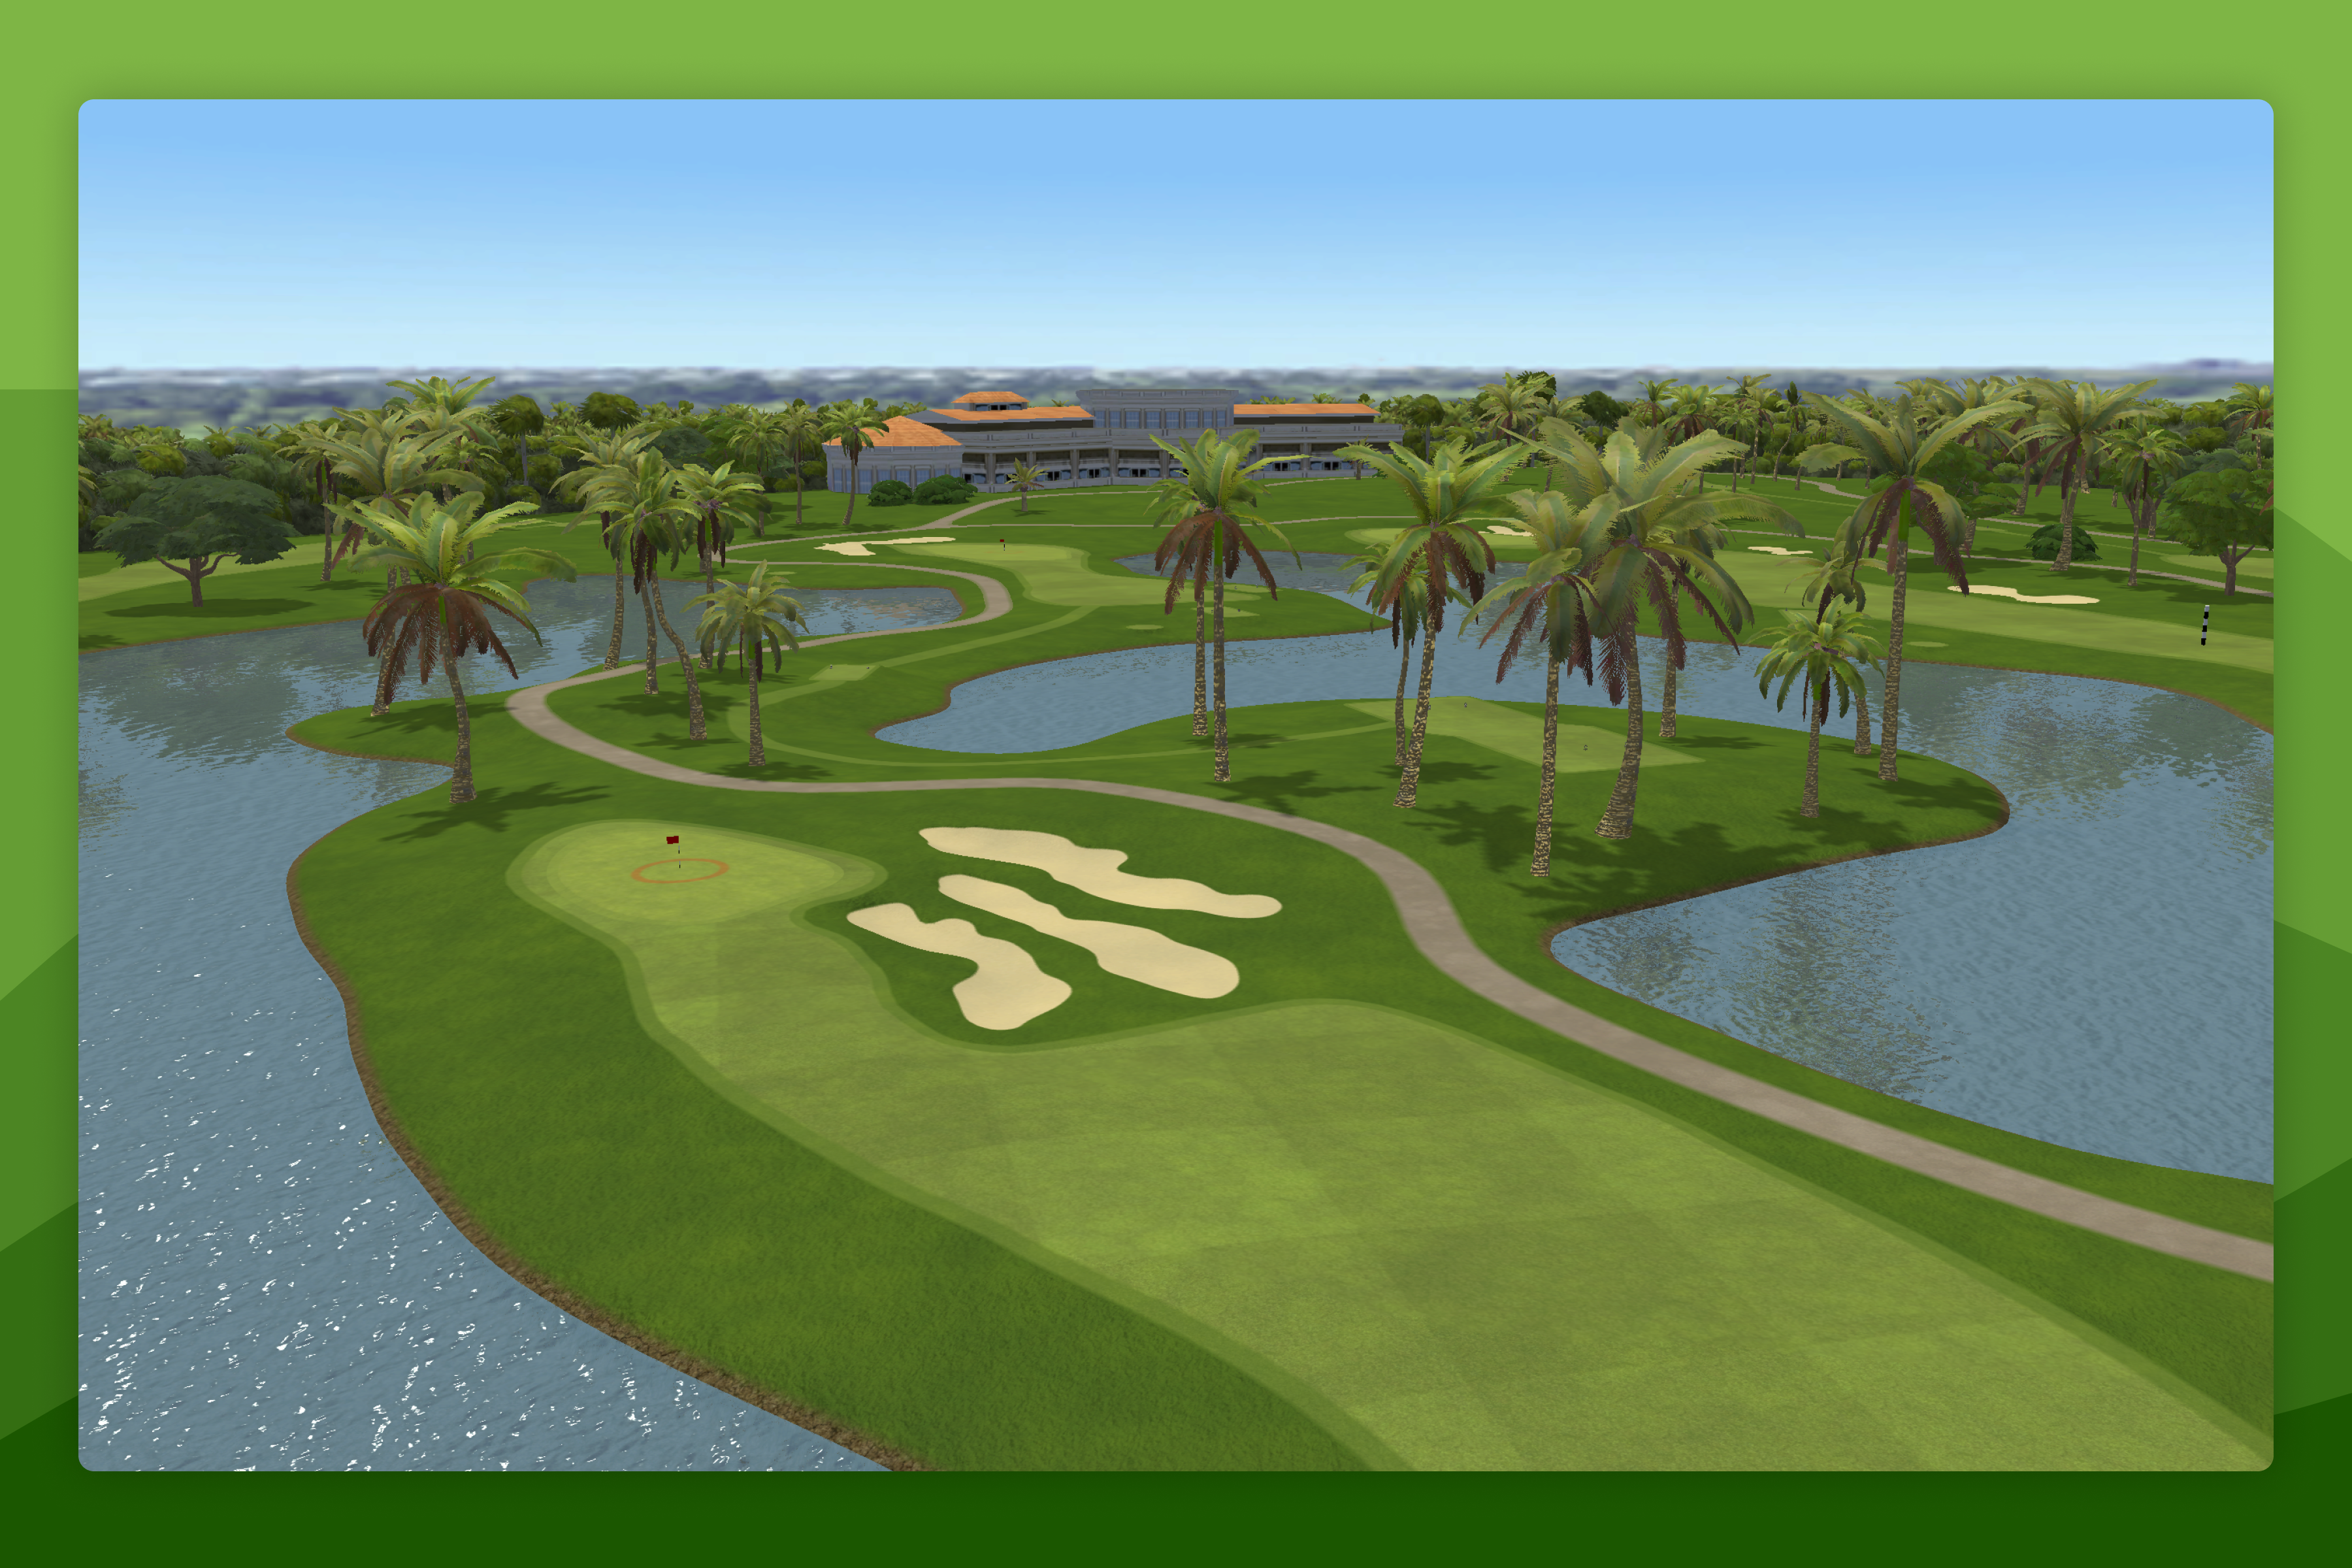
One of this course's most picturesque and unforgettable holes. A challenging long par 3 with an elevated, half-moon green requiring precise club selection for varying pin positions.
Hole 5 (Par 4)
357m (Hexagon) / 291m (Square)
Navigate the left-side bunker off the tee to unlock a clear path to the green. Beware the fairway and greenside bunkers, and avoid aggressive play near water hazards.
Hole 6 (Par 4)
393m (Hexagon) / 315m (Square)
Optimal play demands a left-to-right ball flight. Target the left bunker and execute a fade to unlock a superior approach angle. Mind the green's depth and hidden bunker.
Hole 7 (Par 4)
428m (Hexagon) / 353m (Square)
Target the short right-hand bunker and draw into the fairway. Precision and strategy are essential for success on this notoriously difficult hole.
Hole 8 (Par 5)
502m (Hexagon) / 381m (Square)
A strategic yet rewarding par 5 offering options for both long and short hitters. Smart play off the tee sets up for varied approaches.
Hole 9 (Par 3)
203m (Hexagon) / 144m (Square)
Play it safe by aiming for the left bunker or take a bold approach aiming at the flag - but beware of water hazards.
Hole 10 (Par 5)
548m (Hexagon) / 388m (Square)
The ultimate challenge on the longest par 5. Strategic play is required to navigate the water hazards. An optimal approach strategy offers a clear shot at birdie.
Hole 11 (Par 4)
390m (Hexagon) / 261m (Square)
Strategy is key on this split-fairway par 4. Navigate the abundant sand traps with a precise tee shot. Choose your approach wisely for optimal positioning toward the pin.
Hole 12 (Par 5)
548m (Hexagon) / 446m (Square)
Navigate bunkers from the tee for an optimal second shot. Precision is key for approaching the green and mastering the pin positions.
Hole 13 (Par 3)
225m (Hexagon) / 158m (Square)
The longest par 3 on the course. Consider laying up before the bunkers and aim smartly - choose the right club for a rewarding approach shot.
Hole 14 (Par 4)
424m (Hexagon) / 288m (Square)
A long par 4 where you should aim for the far bunker off the tee. Strategic play continues to the green with careful club selection essential for success.
Hole 15 (Par 3)
166m (Hexagon) / 105m (Square)
An exciting opportunity on the course's shortest par 3. Precision is key to avoid water on the peninsula green. Navigate elevation changes with accurate approach shots.
Hole 16 (Par 4)
345m (Hexagon) / 254m (Square)
Strategy is key on this short par 4. Optimal play avoids the fairway bunkers, setting up for a controlled approach. Beware of deep bunkers around the green.
Hole 17 (Par 4)
394m (Hexagon) / 273m (Square)
A strategic challenge on this medium-length dogleg right. Precision off the tee sets up for a favourable approach to a uniquely shaped green. Trust your yardage and club selection.
Hole 18 (Par 4)
431m (Hexagon) / 302m (Square)
The renowned 18th hole, infamous on the PGA TOUR for its demanding layout. Strategic play from tee to green is crucial to avoid pitfalls and secure victory.
History
- Doral (Blue Monster) was added to Awesome Golf Simulator in v3.2.0.