Spring Park Hills - Virtual Golf
Spring Park Hills is a 9-hole fantasy countryside virtual golf course with lush, wide fairways, large greens, and light wind.
Spring Park Hills is available to all users, including those on a free trial. To play, open Virtual Golf, select 9 Hole Courses, and choose Spring Park Hills from the list.
Scorecard
Spring Park Hills is a par 36 over 9 holes. All distances are in metres.
Five tee options are available, ranging from the longest (Hexagon) to the shortest (Circle):
| Hole | Name | Par | Hexagon | Pentagon | Square | Triangle | Circle |
|---|---|---|---|---|---|---|---|
| 1 | Meadowbrook | 5 | 481 | 457 | 422 | 260 | 205 |
| 2 | Oakford | 4 | 379 | 323 | 293 | 193 | 148 |
| 3 | Brambleton | 3 | 166 | 149 | 124 | 90 | 70 |
| 4 | Fernwood | 4 | 347 | 322 | 281 | 188 | 149 |
| 5 | Windmere | 5 | 508 | 456 | 400 | 255 | 221 |
| 6 | Lavender Hill | 3 | 183 | 159 | 123 | 101 | 69 |
| 7 | Thistlebury | 5 | 484 | 421 | 373 | 280 | 202 |
| 8 | Ivywood | 4 | 388 | 349 | 302 | 171 | 128 |
| 9 | Amberfield | 3 | 136 | 120 | 92 | 73 | 56 |
| Total | 36 | 3,072 | 2,756 | 2,410 | 1,611 | 1,248 |
Hole Descriptions
Hole 1 - Meadowbrook (Par 5)
481m (Hexagon) / 422m (Square)
This opening dogleg right par 5 has a wide fairway to get your round started. Take on the right side to try and cut the corner or go down the left to open up the green for your approach.
Hole 2 - Oakford (Par 4)
379m (Hexagon) / 293m (Square)
With bunkers down the left side of the fairway, try to stick to the right side of this hole. The only trouble around the green is a large bunker on the right.
Hole 3 - Brambleton (Par 3)
166m (Hexagon) / 124m (Square)
Surrounded by the tall trees and blossoming flowers, enjoy the tranquillity. But make sure you have enough club to take the greenside bunker on the left out of play.
Hole 4 - Fernwood (Par 4)
347m (Hexagon) / 281m (Square)
A right-to-left ballflight is favoured here off the tee. As the hole curves around to the left, the green will be revealed.
Hole 5 - Windmere (Par 5)
508m (Hexagon) / 400m (Square)
A real birdie opportunity here with not too many dangers along this hole. Aim down the left side of the fairway to open up your green for your approach.
Hole 6 - Lavender Hill (Par 3)
183m (Hexagon) / 123m (Square)
With bunkers and water surrounding the back of this green, your club selection is very important. If you need to, you can bounce a low shot in in case you're worried about going too long.
Hole 7 - Thistlebury (Par 5)
484m (Hexagon) / 373m (Square)
A wide fairway is your target off the tee. The left side of this hole will only benefit those who can produce a right-to-left ball flight. Avoid the right side of the fairway as a bunker hugs the corner of this hole.
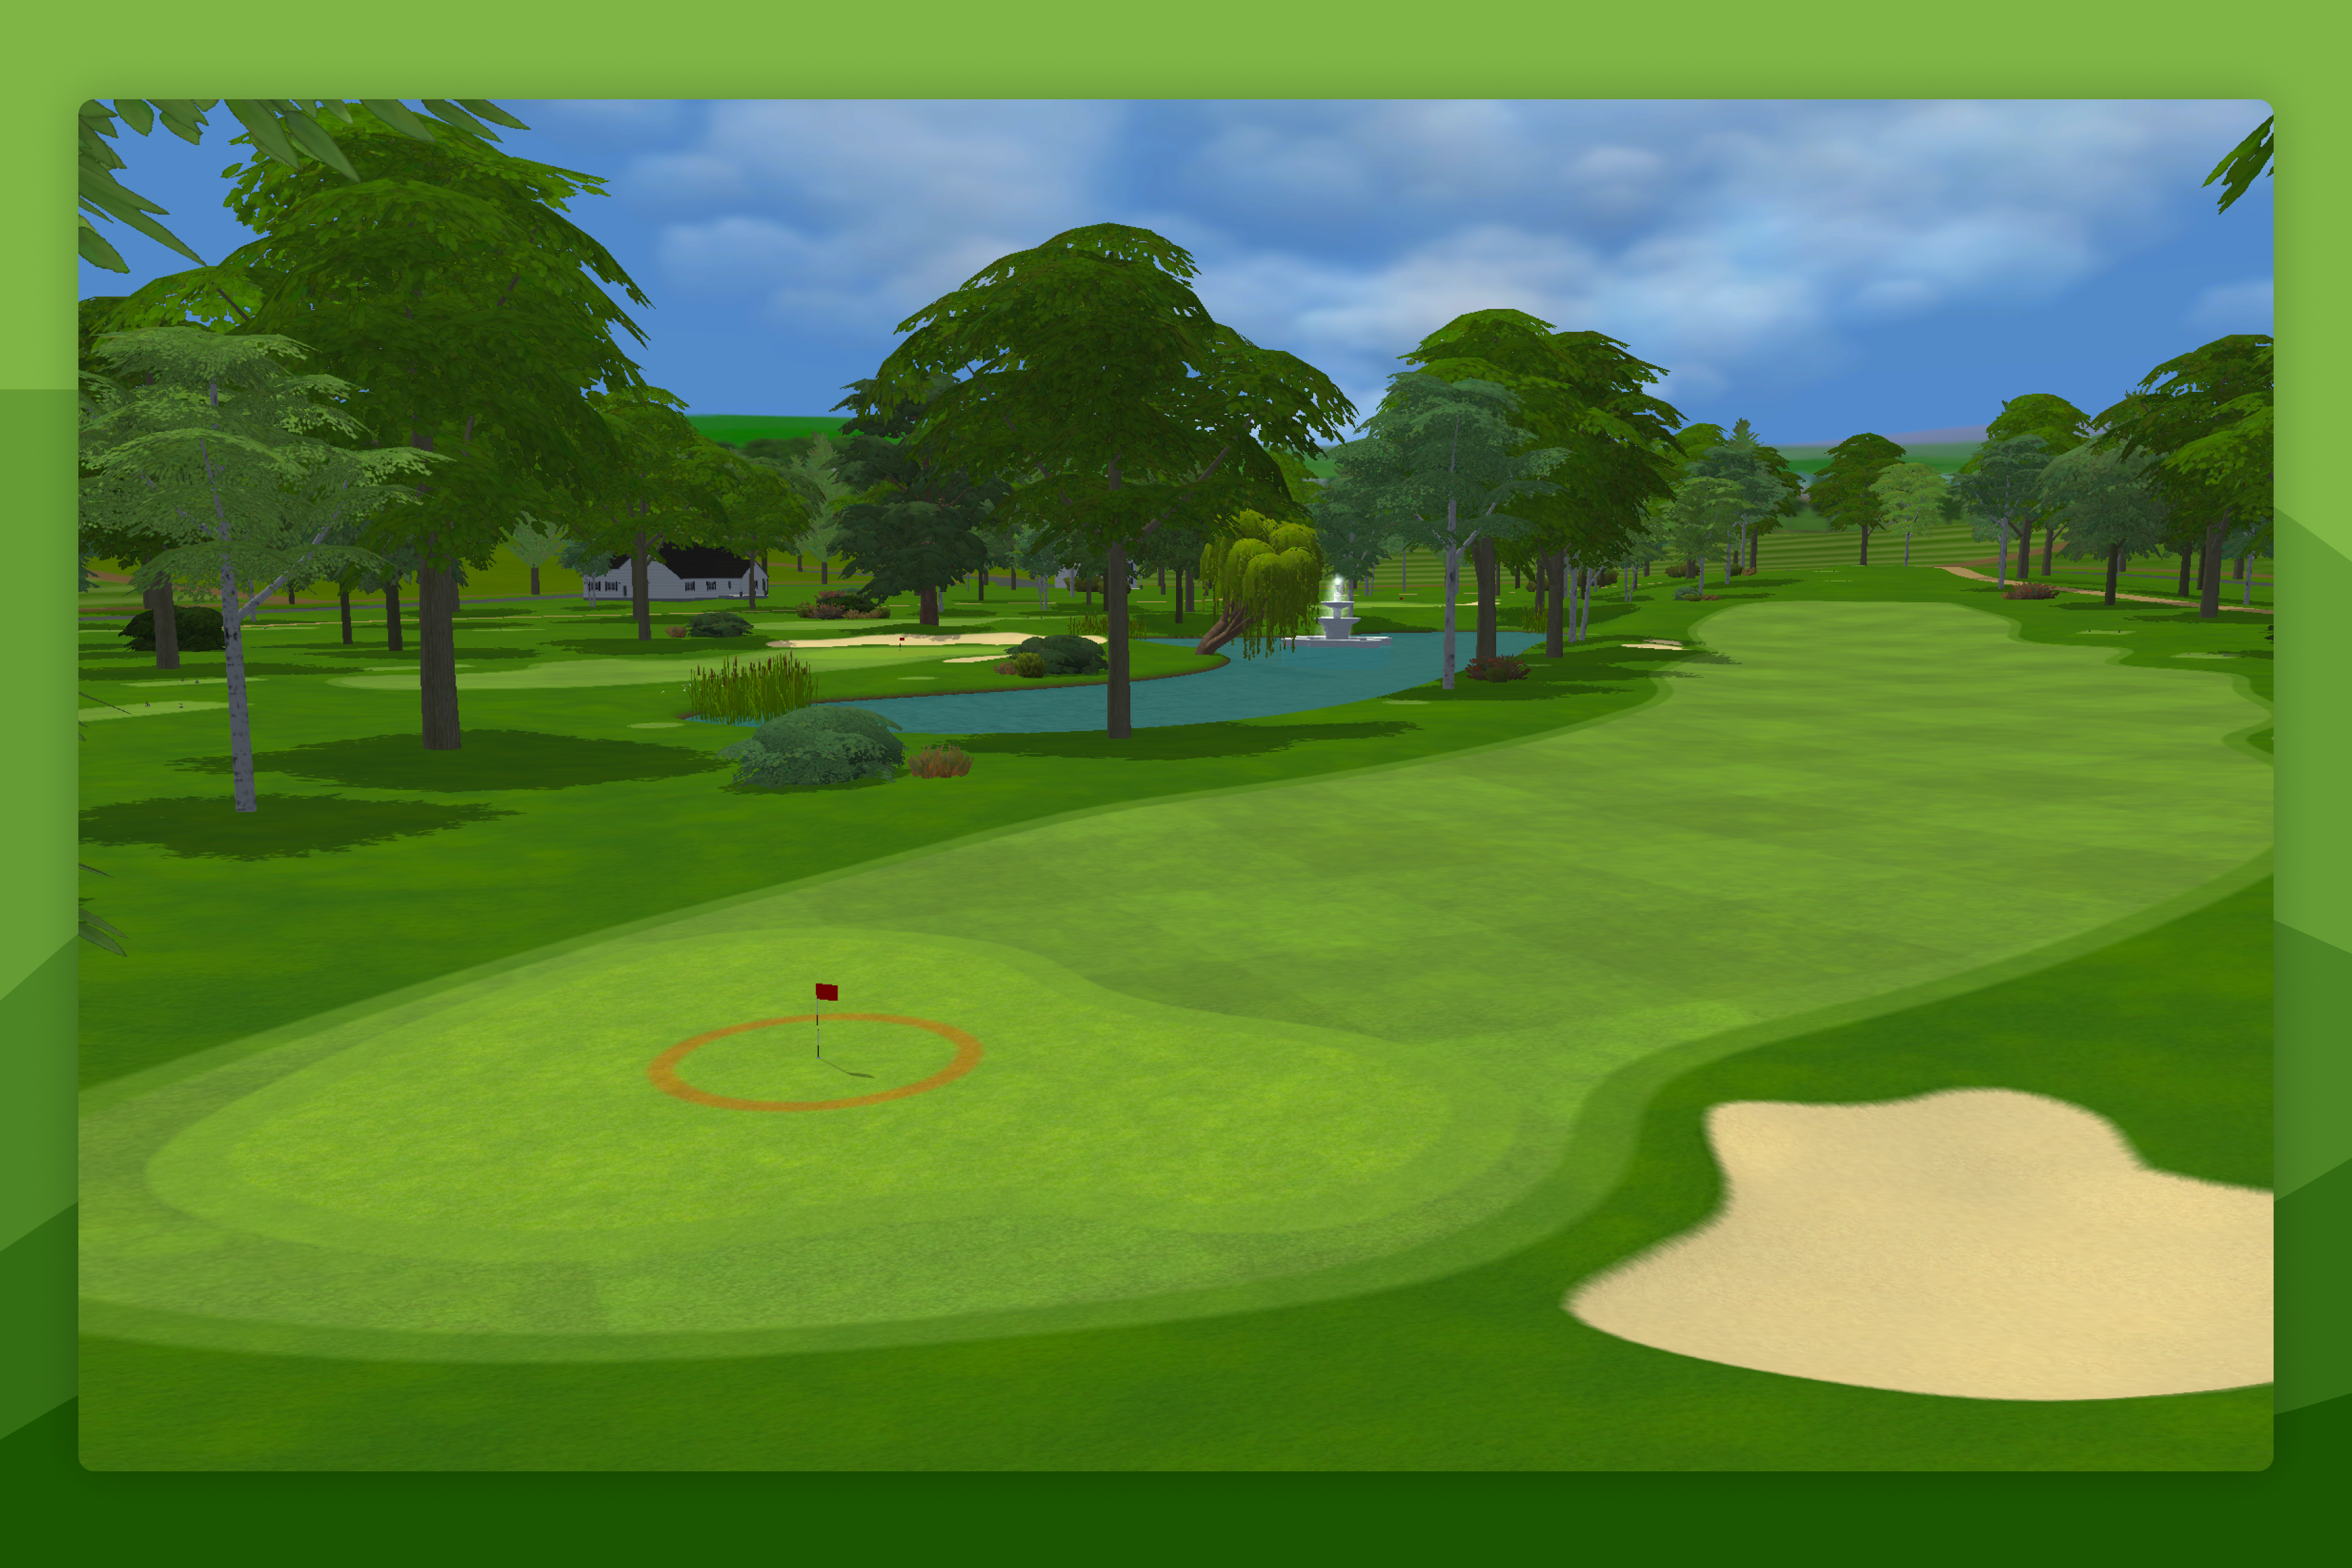
Hole 8 - Ivywood (Par 4)
388m (Hexagon) / 302m (Square)
Don't let the fountain on the left of this hole attract your tee shot for a swim. A safe drive is down the right side avoiding the fairway bunkers. From there, you'll have a short club to take on the pin.
Hole 9 - Amberfield (Par 3)
136m (Hexagon) / 92m (Square)
This short par 3 to finish can make or break your round. Commit to your club selection and send it home in style.