Mission Hills (Blackstone) - Virtual Golf
Tags:v3.5.0+
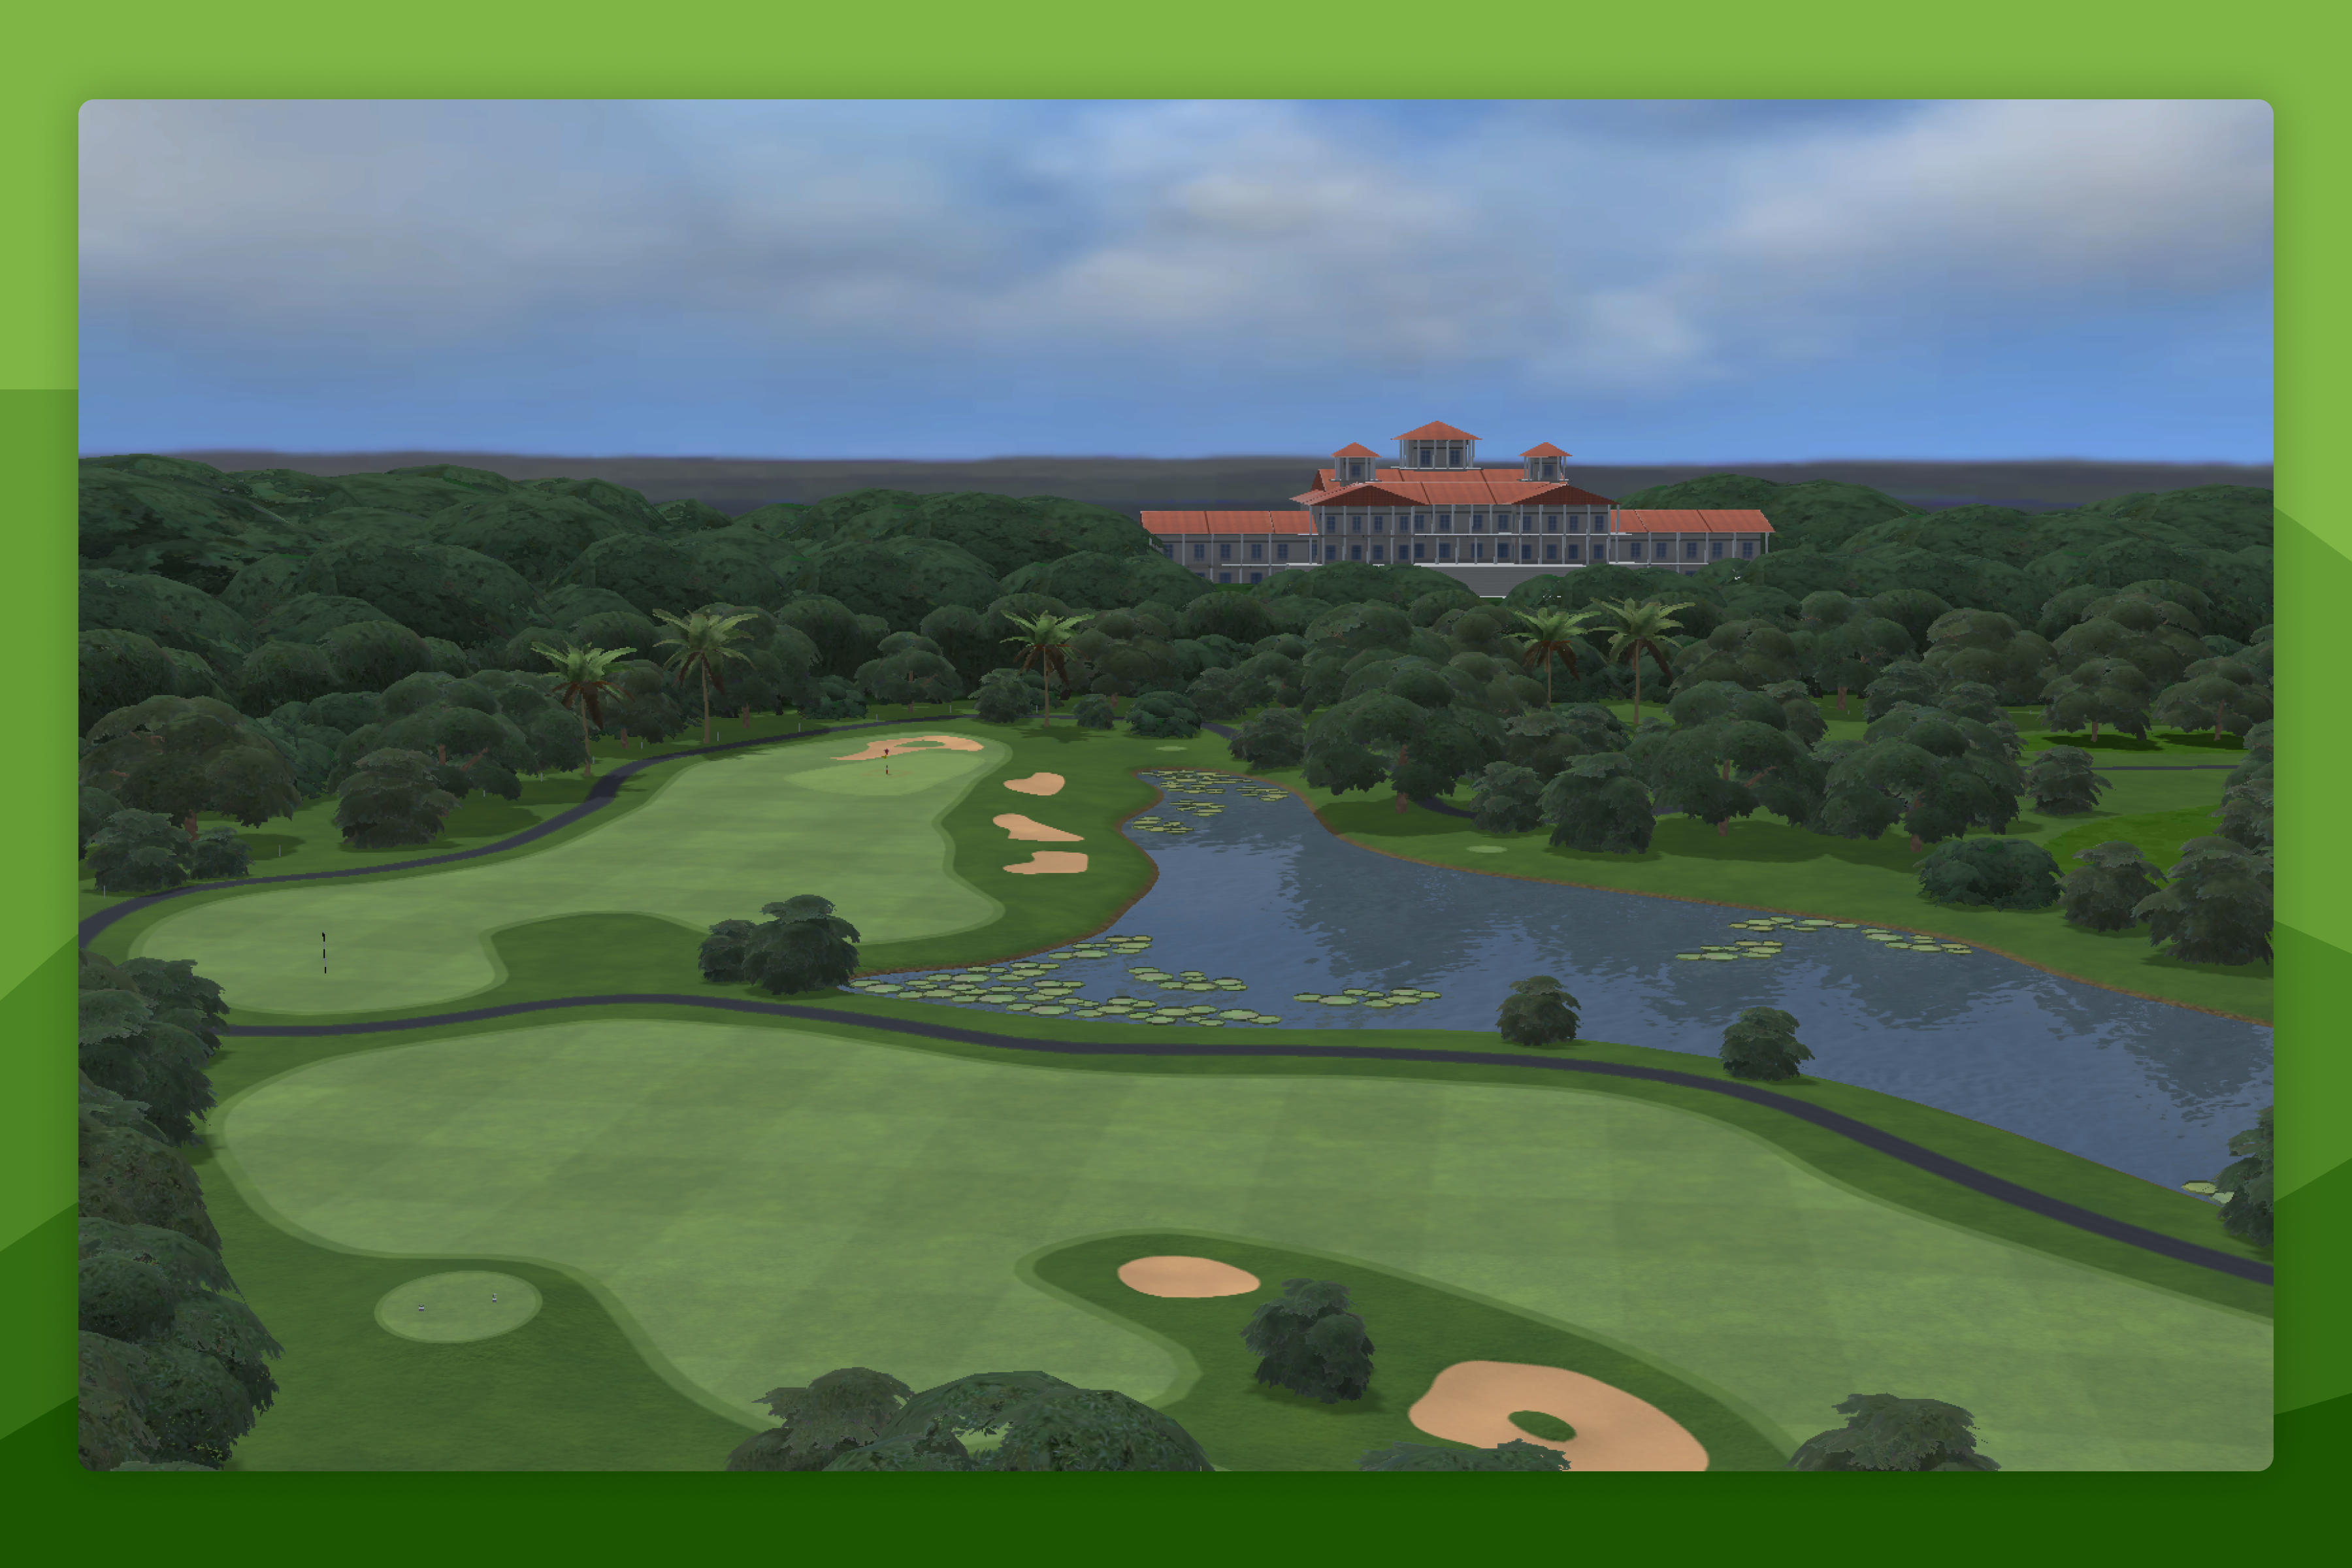
The Blackstone Course at Mission Hills Golf Club is a championship 18-hole course located in Shenzhen, China, and one of the most celebrated courses in Asia. Designed by Pete Dye and opened in 1994, it is famed for its striking black sand bunkers - the signature feature that gave the course its name - along with tight fairways, extensive water hazards, and demanding approach angles that challenge players of every level. The Blackstone Course has hosted the HSBC Champions and the World Cup of Golf, cementing its reputation as a world-class test of the game.
Mission Hills (Blackstone) is available to all users, including those on a free trial. To play, open Virtual Golf, select 18 Hole Courses, and select Mission Hills (Blackstone) from the list.
Scorecard
Mission Hills (Blackstone) is a par 73 over 18 holes. All distances are in metres.
Five tee options are available, ranging from the longest (Hexagon) to the shortest (Circle):
| Hole | Par | Hexagon | Pentagon | Square | Triangle | Circle |
|---|---|---|---|---|---|---|
| 1 | 4 | 411 | 364 | 281 | 217 | 153 |
| 2 | 5 | 563 | 501 | 436 | 241 | 178 |
| 3 | 4 | 427 | 369 | 261 | 165 | 123 |
| 4 | 4 | 475 | 398 | 311 | 202 | 167 |
| 5 | 3 | 158 | 152 | 125 | 101 | 81 |
| 6 | 5 | 555 | 481 | 430 | 226 | 185 |
| 7 | 4 | 362 | 322 | 229 | 198 | 169 |
| 8 | 3 | 175 | 146 | 118 | 101 | 82 |
| 9 | 4 | 460 | 381 | 329 | 200 | 150 |
| 10 | 4 | 361 | 323 | 248 | 191 | 165 |
| 11 | 3 | 207 | 183 | 138 | 90 | 71 |
| 12 | 5 | 487 | 434 | 367 | 292 | 225 |
| 13 | 5 | 611 | 528 | 439 | 269 | 195 |
| 14 | 4 | 439 | 366 | 290 | 168 | 126 |
| 15 | 3 | 194 | 149 | 120 | 76 | 56 |
| 16 | 4 | 358 | 279 | 246 | 138 | 110 |
| 17 | 4 | 414 | 347 | 279 | 150 | 120 |
| 18 | 5 | 484 | 421 | 370 | 267 | 225 |
| Total | 73 | 7,141 | 6,144 | 5,017 | 3,292 | 2,581 |
Hole Descriptions
Hole 1 (Par 4)
411m (Hexagon) / 281m (Square)
The first fairway features some gathering bunkers which should be avoided to hit the green in two shots. Aim to miss them on the left to open up the green for your approach.
Hole 2 (Par 5)
563m (Hexagon) / 436m (Square)
A partially blinded tee shot hits over a bed of lava rocks into a fairway with long bunkers hugging the left side. If you can't carry them, aim to the right side before laying up short of the large bunker in front of the green.
Hole 3 (Par 4)
427m (Hexagon) / 261m (Square)
Hitting over the bed of lava rocks, aim to keep your drive short of the bunker on the corner. This position will be perfect for approaching the green as the hole moves round to the right.
Hole 4 (Par 4)
475m (Hexagon) / 311m (Square)
This tee shot requires a long carry before running into some fairway bunkers down the left side. The green is surrounded by three troublesome bunkers in front and on both sides.
Hole 5 (Par 3)
158m (Hexagon) / 125m (Square)
The first par 3 of the course features a large bed of volcanic rocks hitting onto a green that slopes massively from front to back.
Hole 6 (Par 5)
555m (Hexagon) / 430m (Square)
The safe option is to aim right off the tee, then left for your second shot, then back right towards the green. You'll do well to not touch the sand on this hole.
Hole 7 (Par 4)
362m (Hexagon) / 229m (Square)
One of the shorter par 4s on this course features a bunker right where most tee shots will land. Avoid this for a favourable approach to the green.
Hole 8 (Par 3)
175m (Hexagon) / 118m (Square)
Guide your shot through the deciduous vegetation onto a narrow green surrounded by bunkers. You'll be happy to walk away with a par here.
Hole 9 (Par 4)
460m (Hexagon) / 329m (Square)
Aim down the left side of this fairway to avoid the two bunkers down the right. The second shot is to an elevated green surrounded by four gathering bunkers below.
Hole 10 (Par 4)
361m (Hexagon) / 248m (Square)
If you're feeling brave, take on the carry of the fairway bunkers down the right for a shortened approach shot. For a more conservative strategy, play down the left to avoid the bunkers and open up the narrow green.
Hole 11 (Par 3)
207m (Hexagon) / 138m (Square)
This long par 3 curves round to the left and features bunkers at north, east, south and west. If you want to bail out, go short and right.
Hole 12 (Par 5)
487m (Hexagon) / 367m (Square)
A birdie opportunity here with a nicely positioned drive short of the fairway bunkers allowing you to attempt the green in two.
Hole 13 (Par 5)
611m (Hexagon) / 439m (Square)
This second consecutive par 5 is a much longer journey to the green. It will take three good hits to make it there in regulation.
Hole 14 (Par 4)
439m (Hexagon) / 290m (Square)
Aim down the left side to avoid any trouble with the fairway bunker. Club selection is key with this long and narrow green.
Hole 15 (Par 3)
194m (Hexagon) / 120m (Square)
Another tricky par 3 with surrounding bunkers and a long carry over the volcanic rocks. If you need to miss somewhere, miss short and right.
Hole 16 (Par 4)
358m (Hexagon) / 246m (Square)
With native rough all down the right side of this hole, there's no direct route off the tee. Aim left and avoid the bunkers to set yourself up for a birdie chance in the final few holes.
Hole 17 (Par 4)
414m (Hexagon) / 279m (Square)
One of the most iconic holes on this golf course. The fairway splits into two paths - you can hit directly towards the green or aim left to give yourself a beneficial angle to attack the pin.
Hole 18 (Par 5)
484m (Hexagon) / 370m (Square)
With a similar layout to the 17th hole, this fairway is split with a large bunker and native rough down the middle. Going down the left side will provide an easier approach to finish.
History
- Mission Hills (Blackstone) was added to Awesome Golf Simulator in v3.5.0.