Shot by Shot - Range
The Shot by Shot Range Game Mode allows you to hit as many balls as you want and get instant feedback on each shot, including distances, speeds, spin, club path, and more. This mode is perfect for working on your swing, improving your accuracy, and getting your distance dialled in.
For more information on each metric's meaning and the Launch Monitor support for our supported metrics, visit Awesome Golf Metrics - this web page gives a breakdown of the metrics, explanations, ideal values, and Launch Monitor support for each metric.
After you've finished your Shot by Shot session, you can review your shots and distances using Awesome Golf Insights, online, or the Awesome Golf Community app.
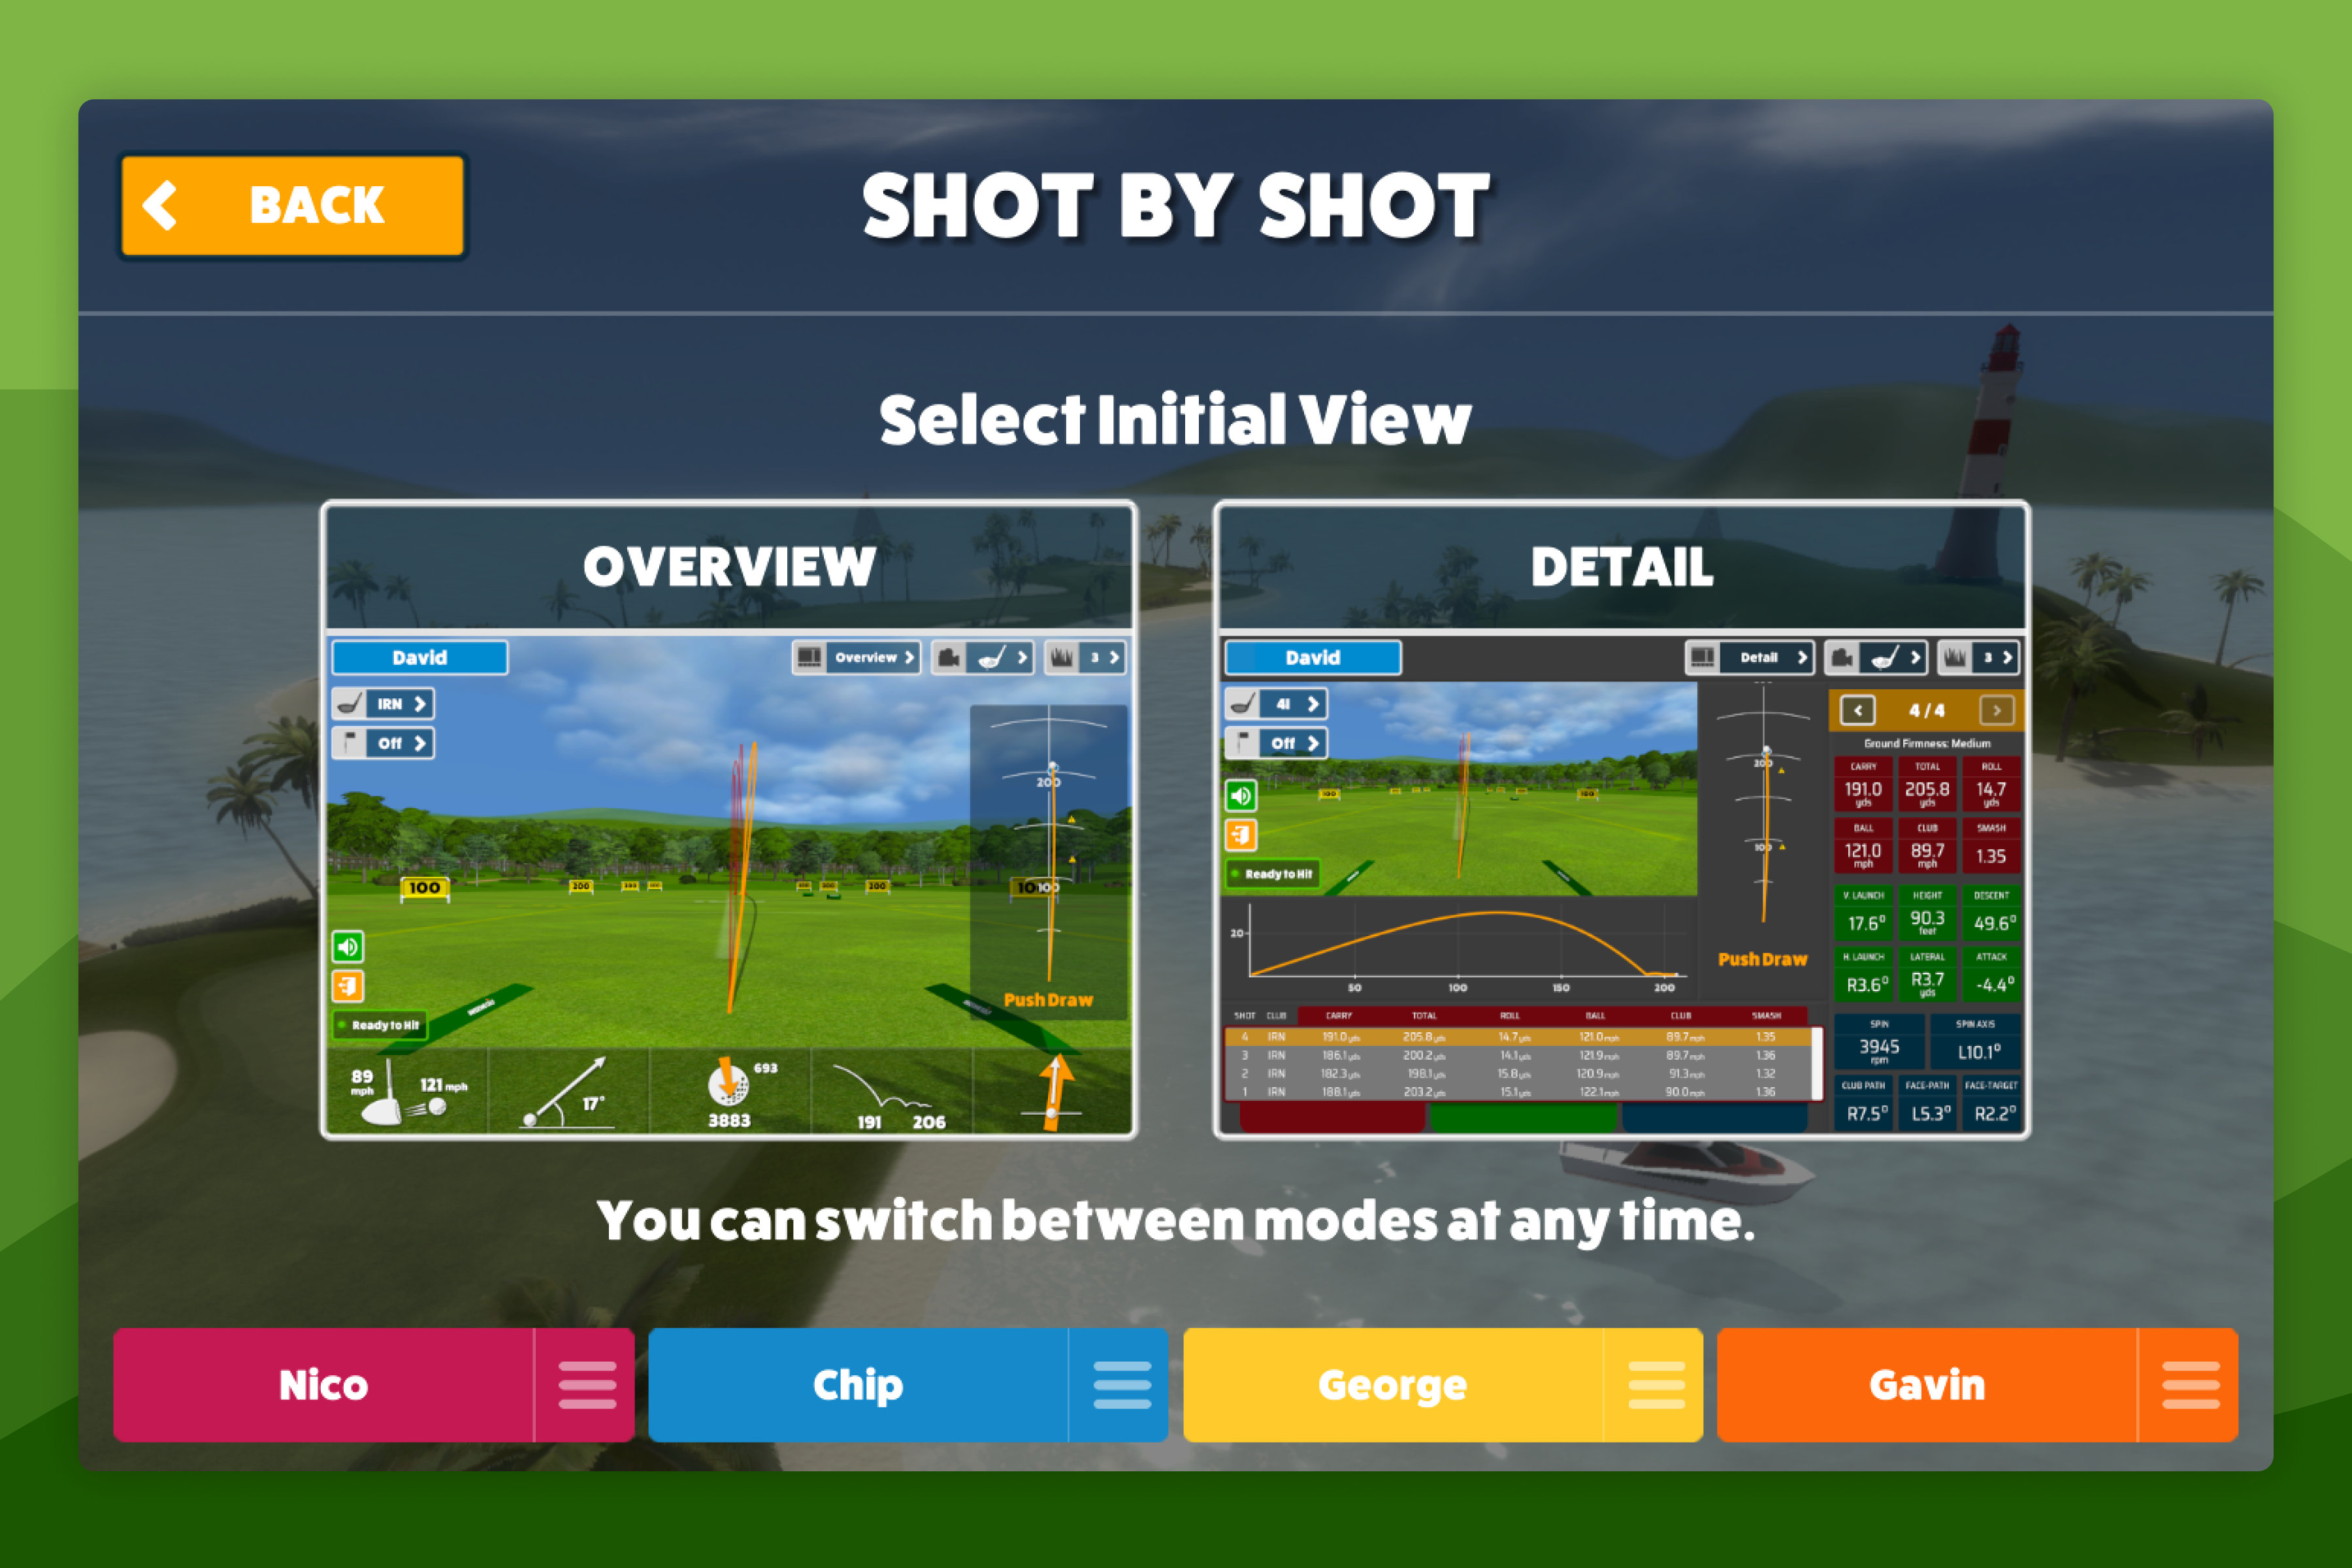
Views: Overview & Detail
Our two views for the Shot by Shot Game Mode are Overview and Detail, with the latter providing all shot data and the former showing an overview of the metrics with Club Speed, Ball Speed, Carry Distance, Total Distance, Launch Angle, Backspin, Side-Spin, Club Path, and Horizontal Launch Angle.
To see all of the metrics for each shot select the Detail view when selecting the Shot by Shot Game Mode. In addition to the metrics, this will also allow you to see the trajectory of each shot, the finished position, and a list of all shots from the current practice session.
The view can be changed after selection by selecting the Detail or Overview button in the top right of the screen.
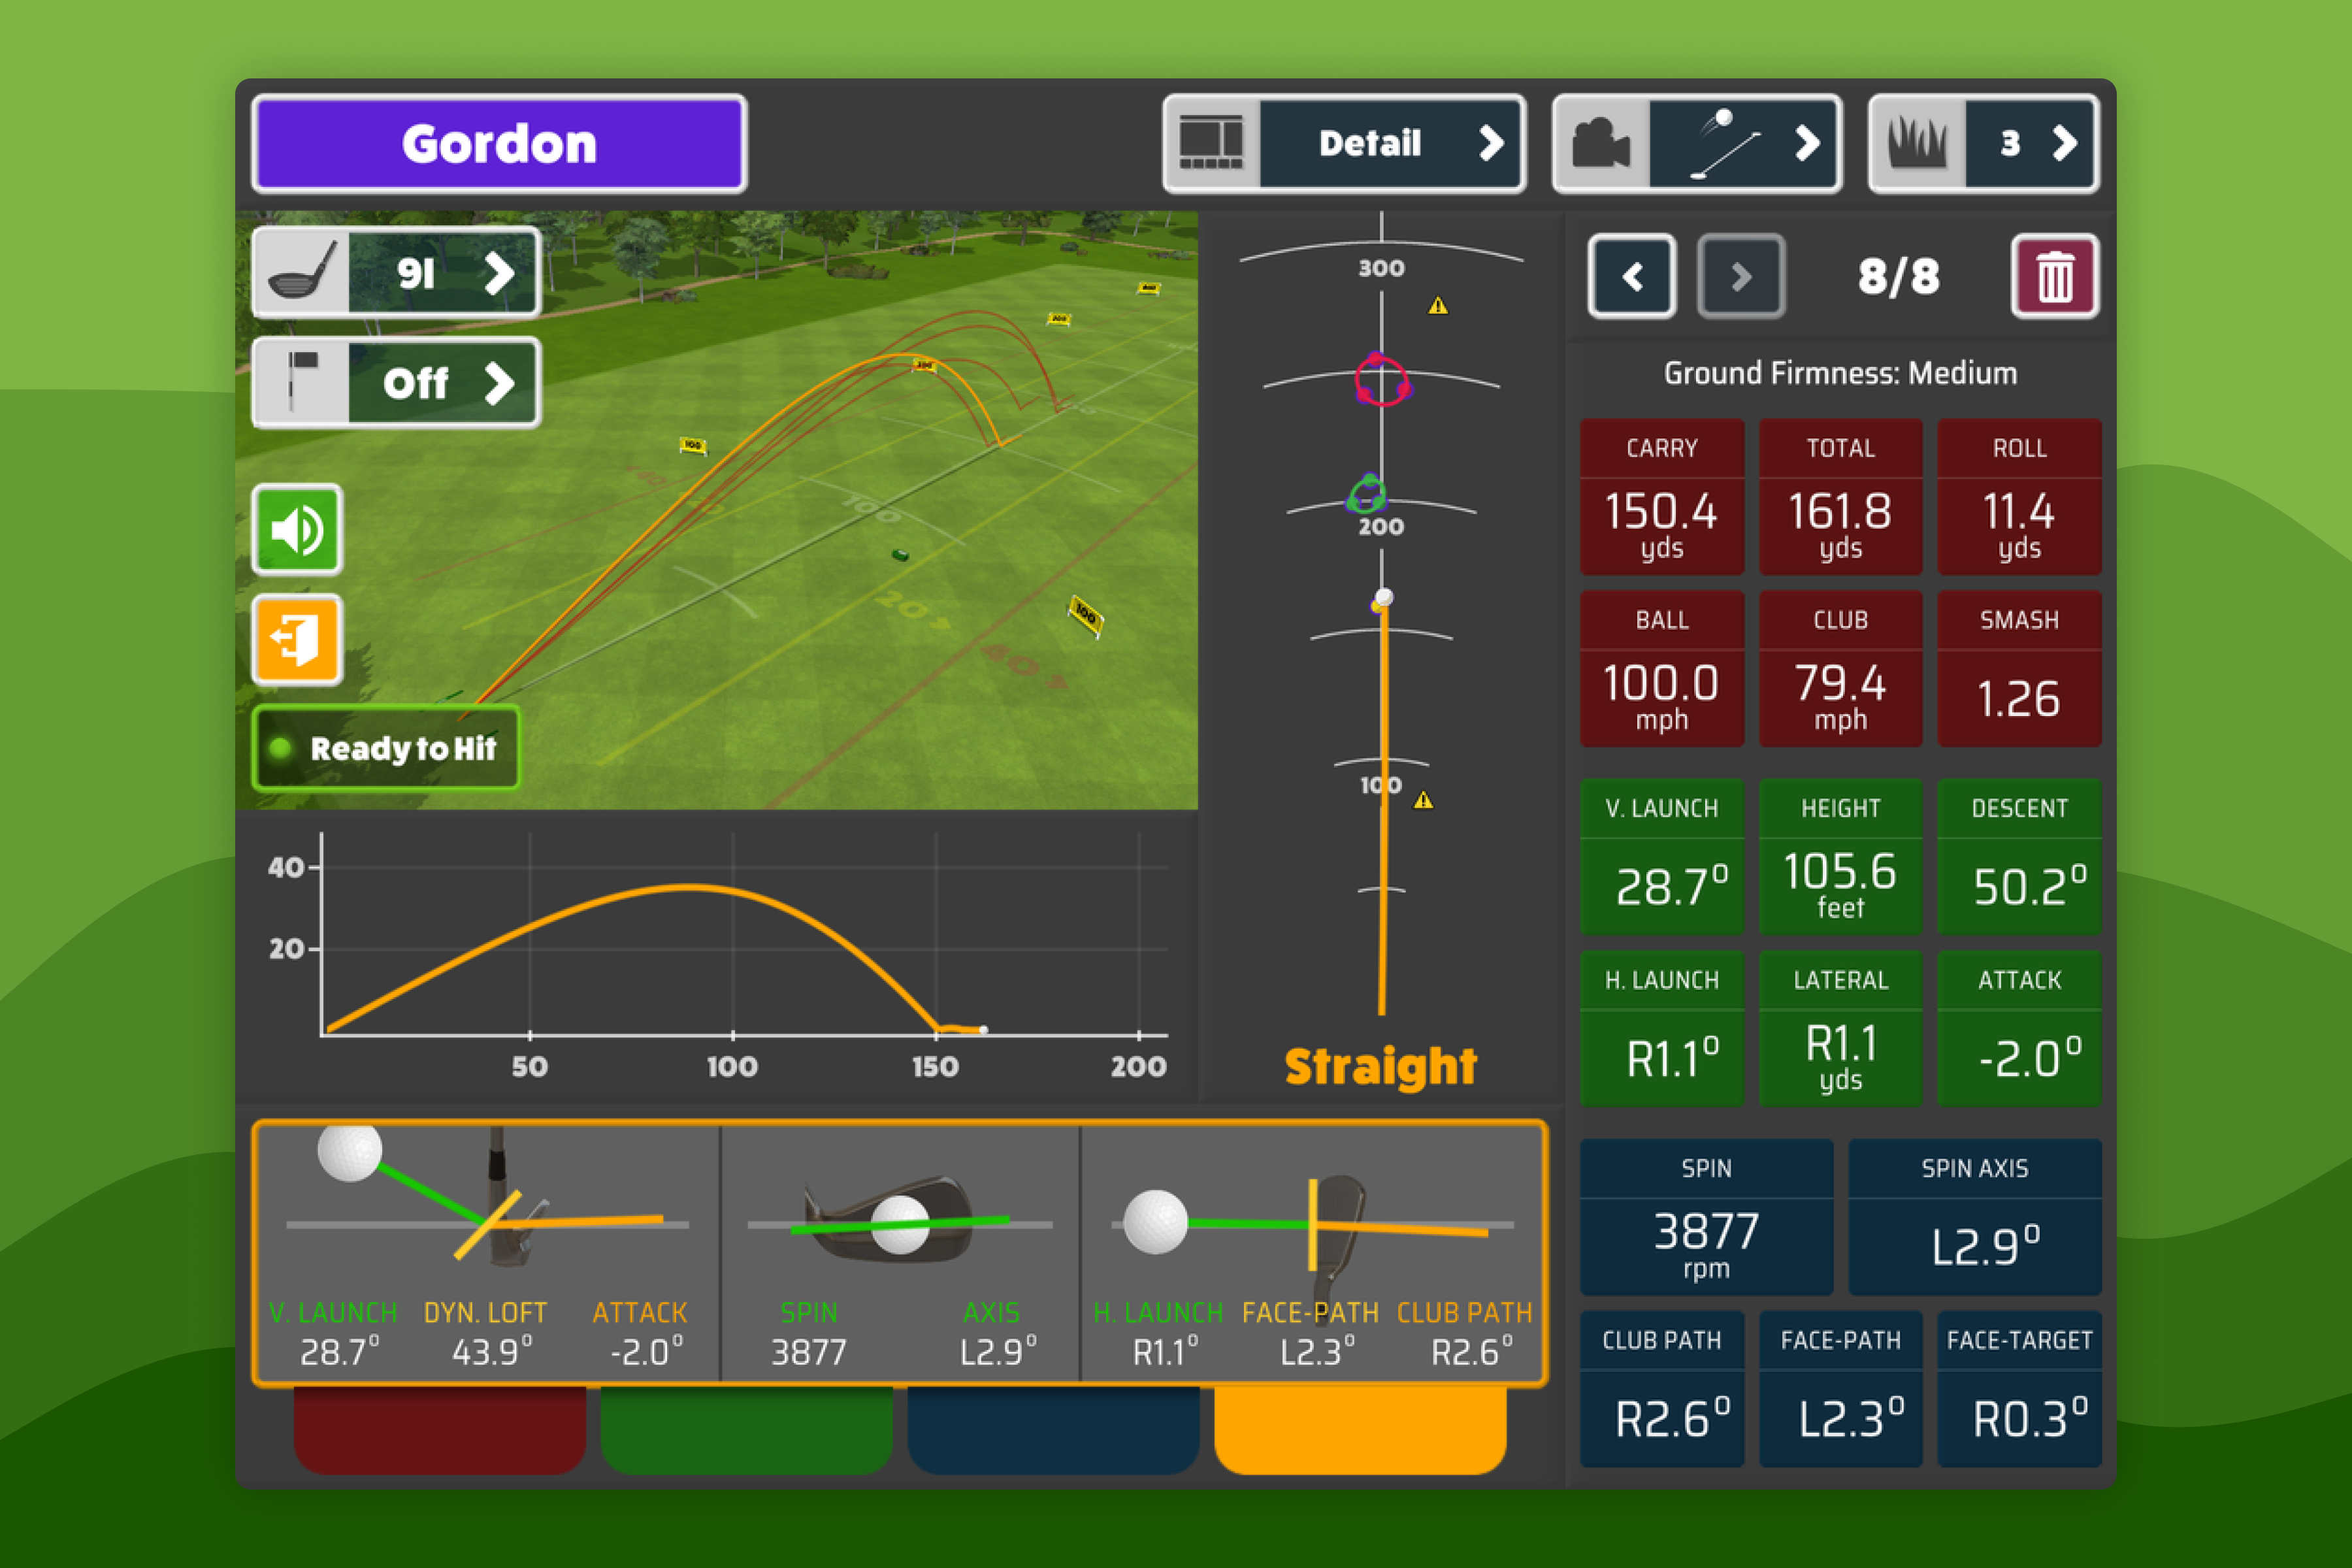
Graphs & Data Points
Both the Overview and Detail views display two graphs: The Side-On trajectory of your shot (y-axis = shot height, x-axis = shot distance), and the lateral dispersion (top-down shot trajectory) of your shots.
When in the Detail view, the data points for each shot is shown to the right-hand side of the screen, underneath a shot counter for the number of recorded shots and left/right arrows for you to see the data points and simulation replay for previous shots.
Also in the Detail view is a table at the bottom of the screen listing all of your previous shots, the club used, and the data points. Scrolling through your previous shots using the left/right arrows in the sidebar will select the shot, show a simulation replay, and display the shot's data points in the sidebar. Similarly, the colour-coordinated tabs displayed beneath the shots list table will allow you to switch the displayed data points matching the coloured data points displayed on the right-hand-side of the screen.
Additionally, after you've finished your Shot by Shot session, you can review your shots and distances using Awesome Golf Insights, online, or the Awesome Golf Community app.
Information on the meaning and availability of different data points and metrics can be found in Awesome Golf Metrics - our web page explainer for each of the different metrics, ideal values, and Launch Monitor model support for each.
Club Selection
Club selection lets us pair the shot result with the particular club used which can help when reviewing your practice session. Only one club can be selected at a time, which can be changed by pressing the club button in the top left of the screen and selecting the new club.
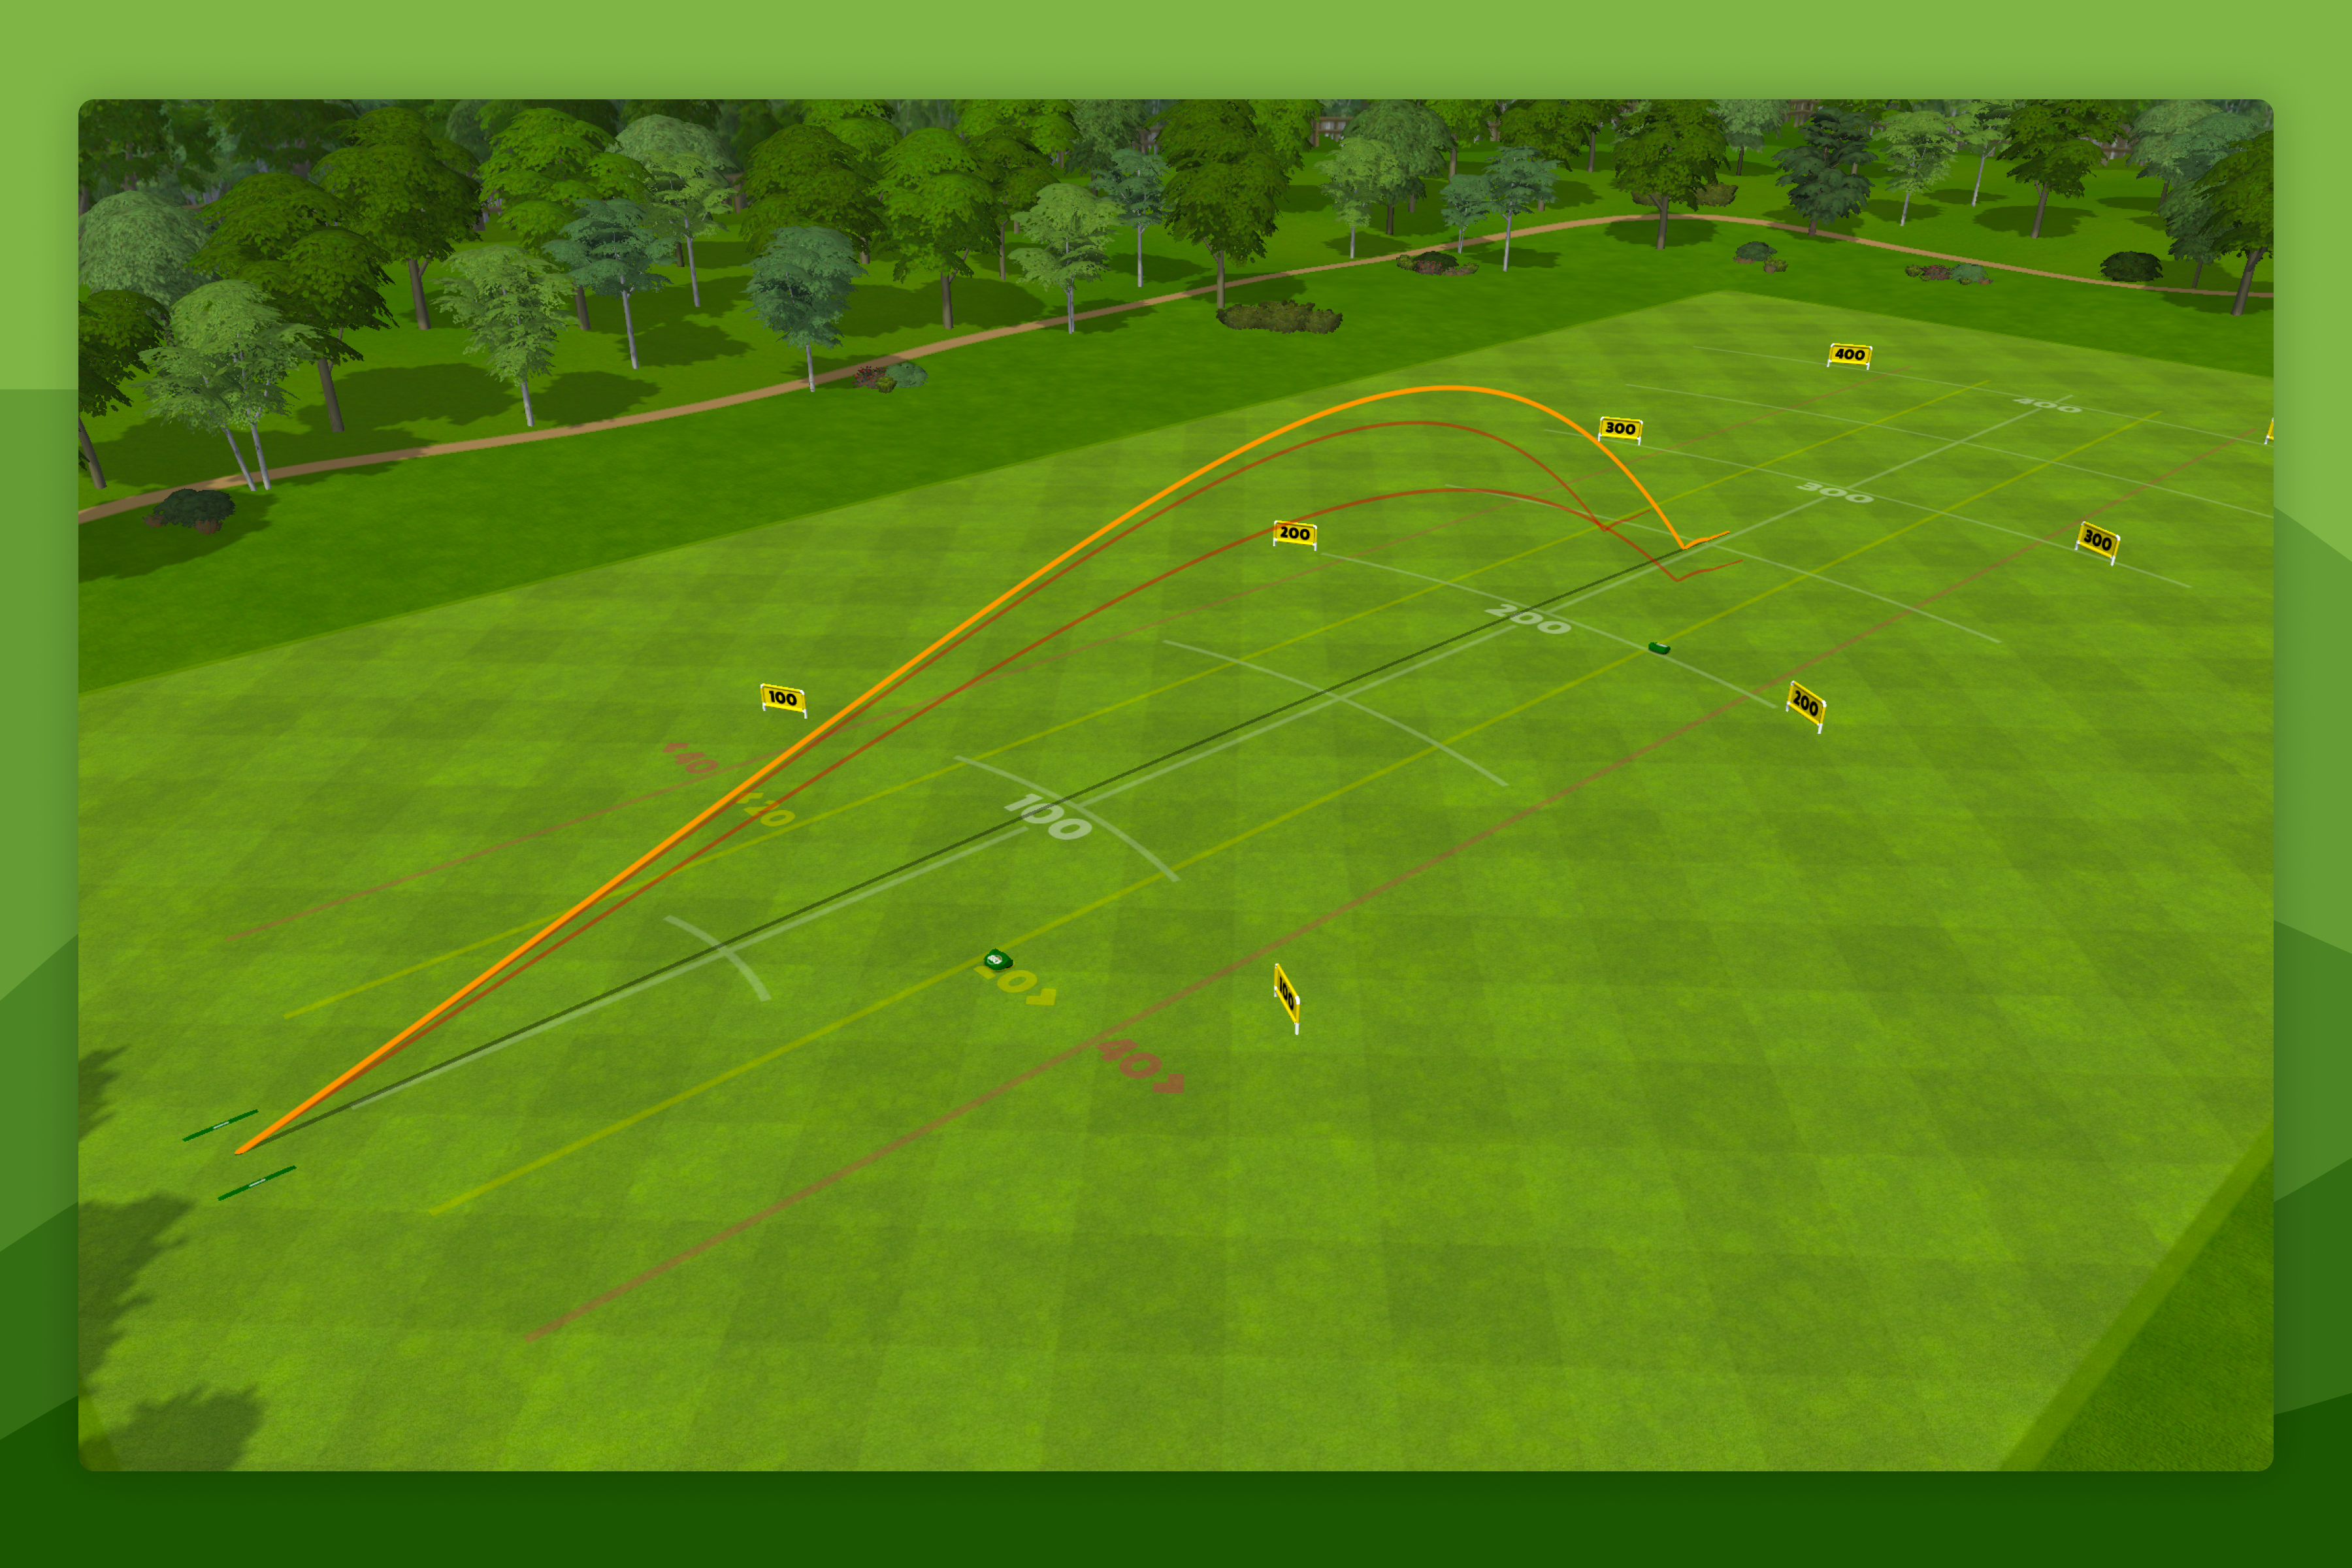
Target Flags
A target flag can be added straight-ahead at an adjustable distance between 10 and 300 meters (10-328 yards) for you to aim towards - or aim towards our two robot ball collectors, as indicated by the yellow warning triangles on the lateral dispersion (top-down shot trajectory) graph.
To add or remove a target, select the flag button in the top left of the screen and toggle the option between on and off - and adjust the target distance as necessary.
Camera Angle
Selecting the camera button in the top right of the screen will allow you to change the Camera Angle for your shots' simulation:
- Behind Tee - a static camera angle from the perspective of behind the tee.
- Isometric/Side-View - a static camera angle from the side of the range, showing you a full view down-range.
- Dynamic/Following - a dynamic camera angle that follows your shots similar to a fly-over.
Ground Firmness
Selecting the grass icon in the top right of the screen will allow you to change the simulated ground firmness for your shots in Shot by Shot. Ground firmness can affect the roll distance of your shots and can be good practice to adjust this to match the current climate or weather of your local environment.
Our ground firmness scale ranges from 1 to 5, with 1 being the softest and 5 being the hardest. The softer the ground, the shorter the roll distance on your shot.
Change Player
When playing with multiple players a button to switch the active player will be displayed in the bottom left of the screen, to the right of the Exit and Audio buttons. Changing player will change who the shots are tracked for, allowing each player to track and review their own shots individually. Registered players can also allow each player to review their stats and performance later using Awesome Golf Insights, online, or the Awesome Golf Community app.
To add a new player, once already playing Shot by Shot, you'll need to return to the Main Menu, and press Add Player at the bottom of the screen. For more information on adding players and guests, see our Adding Players Guide.